Designing your own STEM lessons can be daunting at first! What constitutes a “STEM” lesson is often confused by many teachers.
When we first started doing STEM lessons at our campus I had a teacher come up to me after school and proudly announce that he had done his first STEM lesson! I was thrilled because this teacher was usually pretty resistant to change.
I asked him what they had done, and he told me that they watched a video of another class doing an egg drop experiment, and then they wrote a synopsis on the video and tuned it in.
YIKES – we had a lot of work to do! I learned my lesson that I couldn’t just tell the teachers to make STEM lessons and expect them to fully understand or even put in the hours of research that I had to make it happen. I had to go step-by-step and walk them through the process of creation.
As part of my Vice-Principal duties, it’s been my responsibility to train fellow teachers on how to develop their own STEM lessons, and with this blog post, I hope to do the same for you!
Before we jump into the lesson and start thinking about what materials we need to buy or what the end result will look like, we need to go back to the beginning and purposefully design the lesson.
Lesson Connections
You can make a STEM lesson out of virtually any topic. As teachers, you are asked to fit so much learning into each and every day, so it’s essential that you weave STEM lessons into your existing curriculum. Don’t limit yourself to science lessons. STEM lessons based on literature, math, social studies, etc. will bring greater understanding, excitement, and
The next thing you need to think about is which standards you want to introduce, review, or master within the lesson. Check out the NGSS website to find the standards that work for you.
https://www.nextgenscience.org/
The engineering and design standards work well in almost all subject areas and help you to hit those cross-curricular standards. So that’s step one, decide on your topic and the standards you would like to hit. Easy enough, right?
Lesson Design
Real World Problems
Taking your topic and standards into consideration, decide on a real-world problem that the students could solve. For example, if you were doing a community helpers unit and looking to cover some engineering and design standards, you might have your students find a way to deliver mail in a different way.
They could find out how to move a heavy box. Maybe solve a math inquiry and ask how many minutes to deliver a certain number of packages if each package takes X amount of time. Another idea would be to figure out how to manipulate a package to fit into a certain space. The possibilities for cross-curricular learning are endless.
Task Design
Decide on the actual task that the students will be completing and most importantly what success will look like. Chances are, not all final projects will look the same. You need to decide what mission accomplished looks like so that you can clearly communicate it to the students before the lesson starts.
For younger students, you might want to show them some examples that other teams have done. For older students, you might want to share the rubric they will be graded on. However, you do it, make sure you understand what your vision is, and clearly communicate that to your students. The goal is for them to use their problem-solving skills, and you will be amazed at some of the ways they tackle a problem (even in kindergarten)!
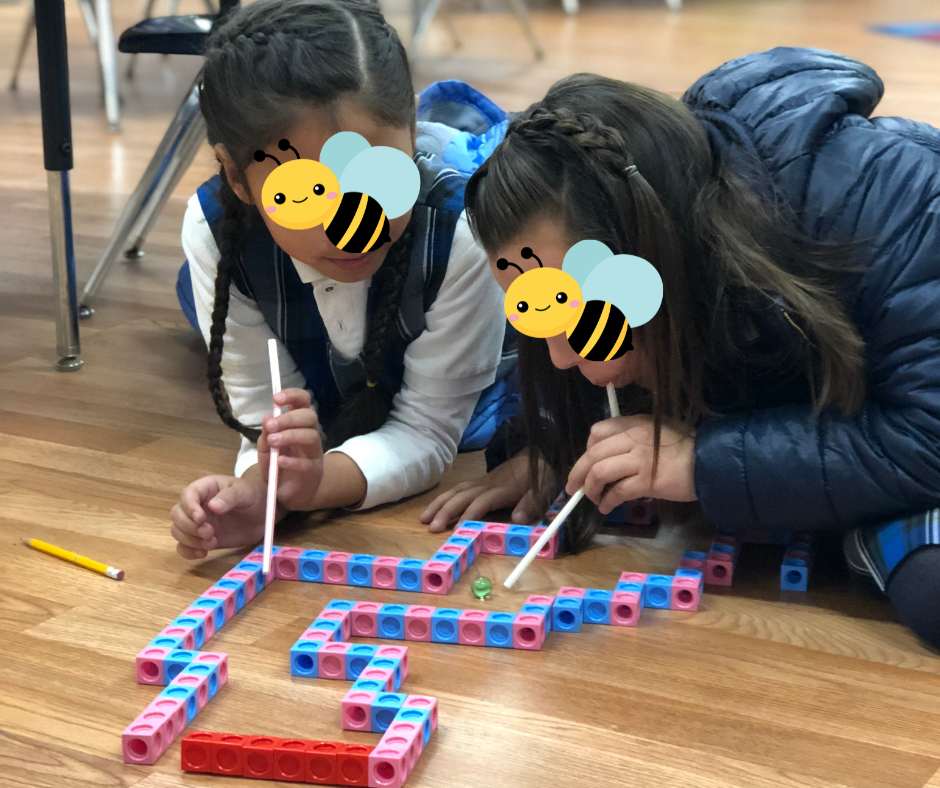
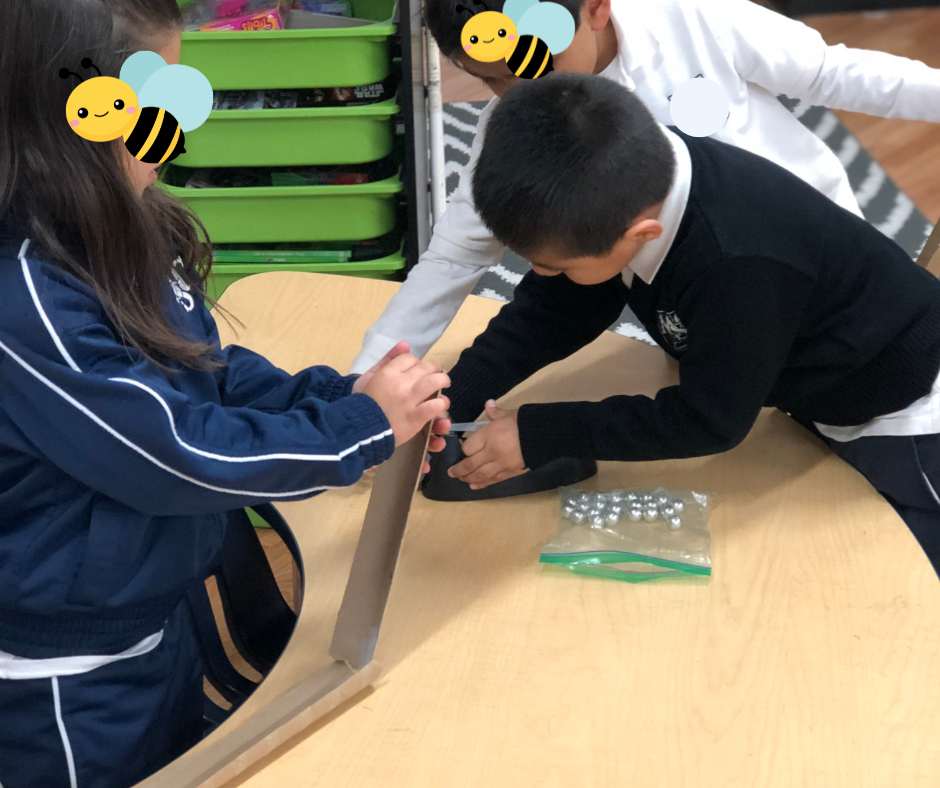
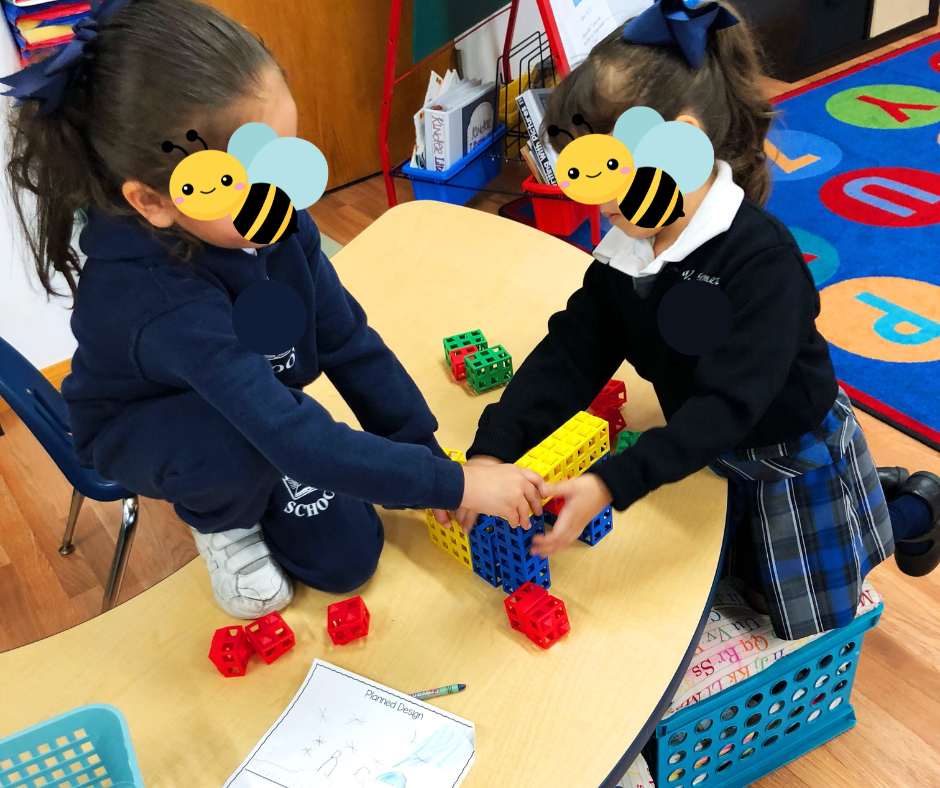
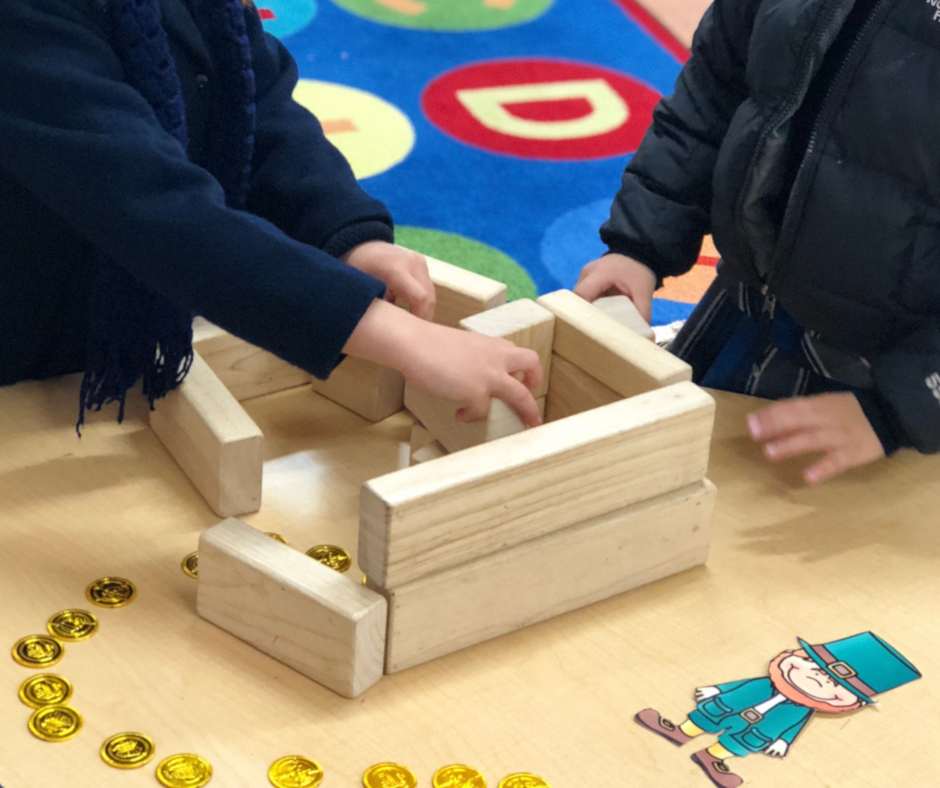
Hands-on experiences are the key component of STEM lessons. Give them time to think, and let them be creative!
Differentiation
I’ve designed STEM lessons that are taught from Pre-K to 2nd grade. I teach the exact same lessons, but the students are given different parameters to work with. Here are some parameters that you could adjust based on the grade and/or skill level that you are teaching:
- Time allotted
- Amount of materials provided
- Kind of materials provided
- Visual examples shown prior to
lesson - Number of students on a design team
- Numbers within the problem (increased or decreased)
- Cross-curricular additions – math problems, writing prompts, etc.
- Access to
assisstance and guidance
By changing the parameters, you can differentiate your lessons to meet the needs of students in multiple grades or just within your own classroom. This makes planning STEM lessons with your colleagues a breeze! You can all plan the same lesson, but just change the parameters to match the student’s skill levels.
Prior Knowledge
Another large piece of information that you need to consider before you teach your lesson is what prior knowledge the students need to have before they can successfully complete the project.
Some classes may need prior academic knowledge and practice, while others may need social skills instruction. Here are some prior knowledge topics to consider.
- Academic skills needed – math, science, etc.
- Working within a group
- Sharing materials
- Sharing responsibilities
- Respecting school property
- Respecting others ideas
- Sharing tasks
- Designating tasks equitably
- Listening
- Recording the design process
- Showing your work
- Presenting to the class
We should not assume that students know how to work in a group. Some students have never had that experience, or they’ve had negative experiences in the past.
Another wonderful thing about STEM education is the ability of us as teachers to prepare the students for the workforce. Chances are, these students will become part of a workplace team and it is our responsibility to teach them how to be productive, creative, and respectful team members and leaders.

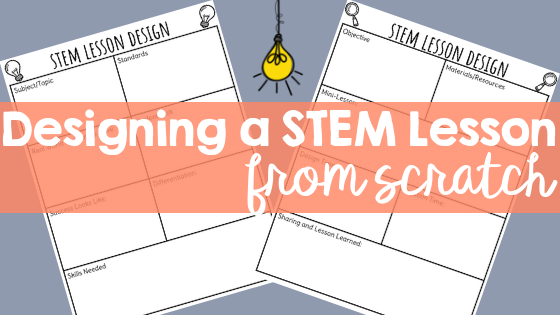
Planning the Lesson
Now it’s time to get specific! Using the template I am providing, fill out the following areas:
Objective
Get super specific and work into your objective on what success will look like. Incorporate your standards and clearly communicate the objective to your students prior to beginning.
Materials/Resources
Books, apps, videos, and anything that you can think of that will assist your students in completing this project. Will you allow them open access to the internet for self-guided learning? Should you read them a book about the scientific principles you are working on prior to the lesson? How about
Mini-Lesson
How much information are you going to give the students prior to the lesson? The mini-lesson is a time to get students excited about the project, but also a time to clearly set up ground rules and expectations.
Design Time
How much time will they have to design? Will they need to turn in their design sketches? Is this also a time when team roles will be assigned? How much of the material will the students have access to during the design process? Is the design hypothetical before they can touch the materials, or can they manipulate the materials during the design process?
Creation Time
How much time will be allotted? Can students look at other groups’ work? How much assistance will be given by the teacher?
If this is a multi-day project, where will it be stored when not in use? How much of the process needs to be documented? How will you, as the teacher, be grading their work – outcome, participation, design thinking?
Sharing and Lessons Learned
How will students share their work? Will you walk around the classroom as a group and have each team share, or will you have each team bring their work up and present it to the class?
You could incorporate technology by having students take pictures of their design process and
After everyone has shared, take the time to sit down and have a conversation with your students about the entire process. What worked, what would they do differently next time? What aspects of the lesson did they like, and what did they wish they could change? Did they develop any new skills?
It’s also important to take the time to self-reflect as a teacher. With each STEM lesson I have designed and taught, I’ve grown in my teaching skills. I’ve learned what I do well, what things need a little bit more pre-planning before the lesson, and what things I will never attempt again!
I hope you have found this useful for your STEM lessons. I’d love to hear what you create
Click on the link below to grab your free and editable copy of the STEM lesson planning templates. This resource is in Google Drive and will ask you to create a copy once you click on the link. Happy planning!
STEM Lesson Design Template
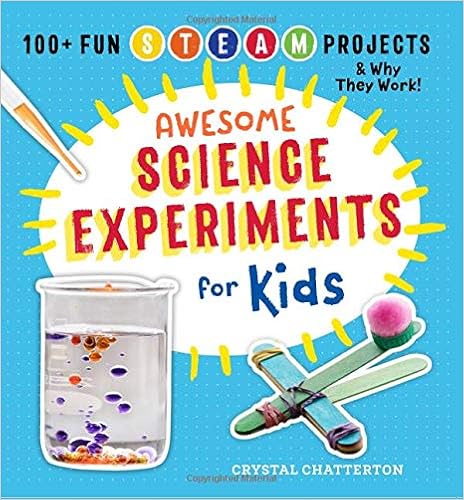
Need a little help getting started? Check out this awesome science experiment book to get the creative process started. You can adjust or add to the experiments to make them fit your cross-curricular needs. Click on my affiliate link below to check out the book:
Awesome Science Experiments for Kids
Want to create a whole school STEM day, where you and your colleagues can plan together to create a super fun and engaging day for your students? Check out this blog post I wrote about how we did it at my school!
Creating a School-Wide STEM Day
Check out these additional science resources to make your lesson planning a breeze!
-

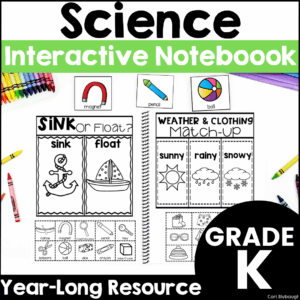
Kindergarten Science Interactive Notebook
$14.95 -
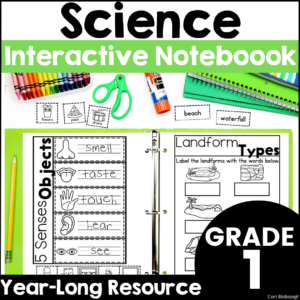
1st Grade Science Interactive Notebook
$14.95 -
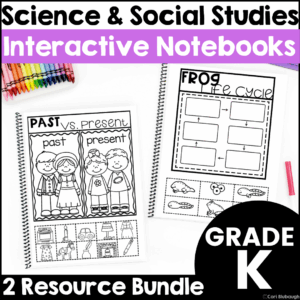
Science and Social Studies Interactive Notebook Bundle for Kindergarten
Original price was: $29.90.$26.67Current price is: $26.67.