

I’ve struggled with guided reading center organization for years. How could I make sure that the kids I wasn’t working with were on task while I was teaching a guided reading lesson? What activities would they be doing that were both engaging and low prep for me? I feel like I’ve tried every Pinterest idea out there, but last year I finally found the right mix of activities.
Creating Groups
The first step in guided reading organization is creating successful groups. I wrote a blog post about how to academically assess students, and you can find it here:
How to Assess Your Students’ Guided Reading Levels
After you know your students’ current level and the focus skills they need to work on, you can start thinking about their individual personalities. Some students do not work well together. Sometimes they don’t communicate well with one another, and other times they communicate TOO well.
Often, I pair easily distracted kids with those who are a little more on task. Academic grouping is essential, but grouping by behavioral tendencies is just as important.
You also need to decide how many kids will be in each group, which depends on your class size. If possible, have no more than 4-5 students in each group.

Setting Up Expectations
During guided reading time, no one should interrupt the guided reading group. Here are some questions to think about before you introduce your groups:
- What do students do if they need to use the restroom? (I love non-verbal cues, I did 1 finger for the bathroom and 2 for water.)
- What do students do if they have a technology issue? (Having student tech experts is important.)
- Are there exceptions to the interruption rule? (Danger, explosion, earthquake)
- How will students know what group they are in? (Check out my Classroom Centers Rotation Chart)
- If you have more than one rotation, what are the expectations for moving to the next one? Do they need to completely clean up the previous one?
- For centers that require paper, where does the paper go once it’s complete?
- What does a clean center look like at the end of the time?
- How much time will they have for clean-up?
- What do they do if they haven’t finished their center and the time is up?
- What do they do if they finish their center early?
- Where will they do their work? Will there be a designated spot for each center, or can they choose one themselves?
The answers to these questions will be different for every teacher (and can change depending on the class you have for the year). It is imperative that you answer these questions for yourself before you present centers to the kids.
I begin the first six weeks by setting my expectations. For the first 1-4 weeks, I do not meet with a guided reading group.
I help students troubleshoot problems and let them know what to do if this happens again. I record their stamina on a chart and cheer them on when they go from 10 minutes to 12 minutes without needing my assistance.
If you really take the time to reinforce these standards at the beginning of the year, you will be amazed at your students’ level of independence as the year progresses.
Choosing the right center
As I said previously, I’ve used a variety of centers over the years and spent a fortune on TPT and Amazon. The goal is to focus on reading improvement for all students while you are teaching your guided reading lesson.
Another critical goal is that the centers you choose save you prep time! You do not have time to be changing out centers every single week. Centers with little to no prep where the students automatically know what to do is the goal.
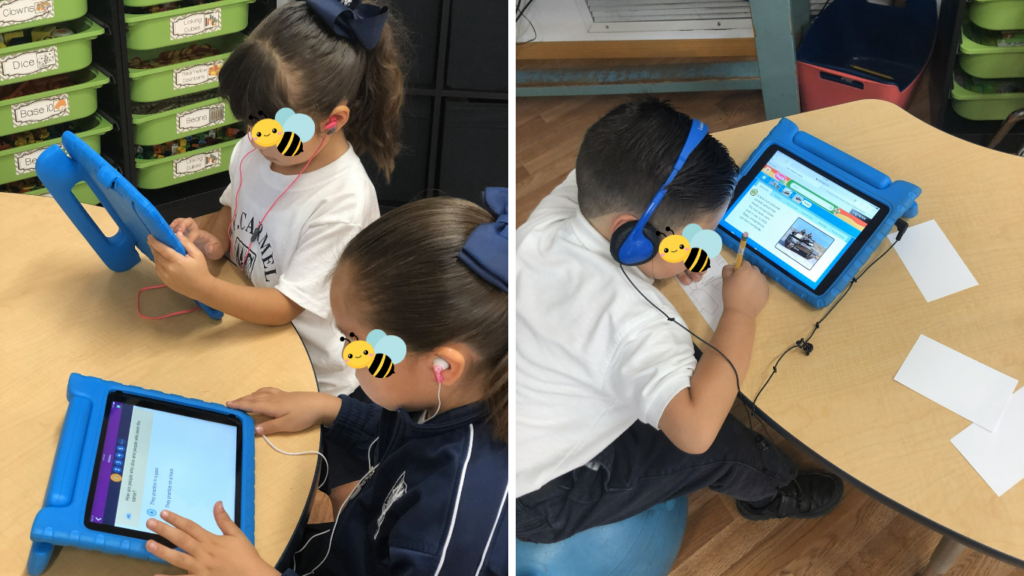
Technology Centers
Computers and tablets are usually very engaging for students. Over the years, the number of these tools has increased in my classroom, making it easier for me to differentiate guided reading centers. Here are my favorite technology tools:
- Starfall.com – Free website with easy readers and sound activities.
- abcya.com – Full of fun alphabet (and math) games. Either direct your students to a particular game or give them parameters of where they need to stay on the website.
- Raz-kids.com – This one costs money, but it’s my absolute favorite! It costs $110 for a year which includes 30 licenses. As the teacher, you assign each student a level. They read books at their level, and after level A, they take comprehension tests on the books. For each book, the story is read to the student, and then they read it independently. I have also used Raz-Kids for homework, and I love the reports it gives you in the teacher section. Be sure to talk to your administrator about this one so they can get it for you!
- TAG Readers – These are great tools for reading and listening. I did a little fundraiser in my class to purchase these, along with the books. Also, check out Epic and Bookbot, which read stories to your students.
- Boom Cards – Digital task cards. You need an account for this website, and there are both free and paid decks that you can use with your students. This website also gives you diagnostic reports on your students, which I love! I wrote a blog post all about setting up a Boom Learning account. Check it out here:
How to Use Boom Cards in Your Classroom
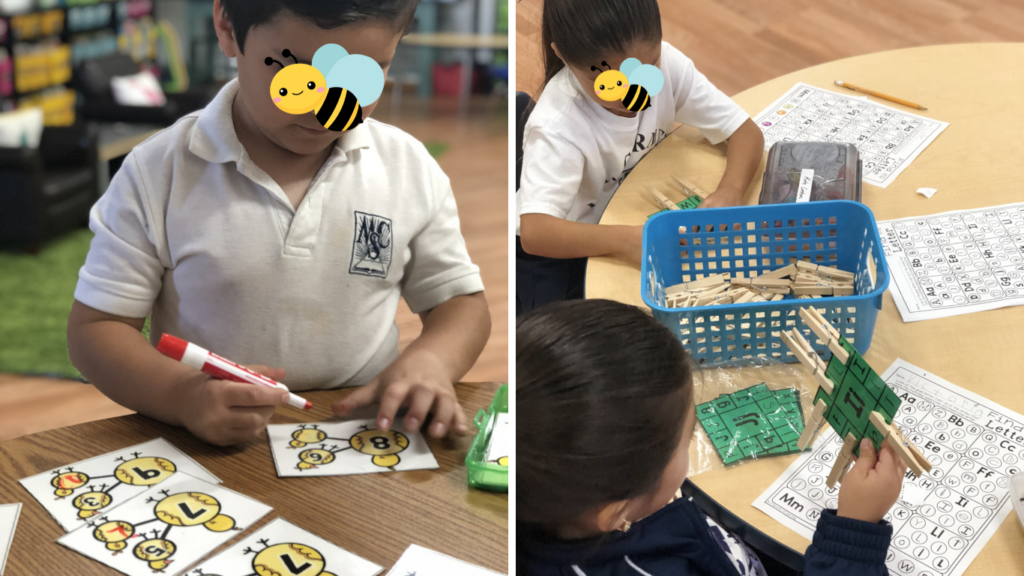
Paper Centers
These centers should be easy for you to prep and cover concepts that have already been taught, so students can do them independently. Here are a few of my favorites:
- Alphabet Centers by A Spoonful of Learning (I also love her homework bundle!)
- Phonics Picture Sorts – Print and go resource
- Early Finishers Task Cards – These worked great because I already had them prepped and could just throw a box or two in at
center time for them to work on. (You can also extend the activity with these companion worksheets.)
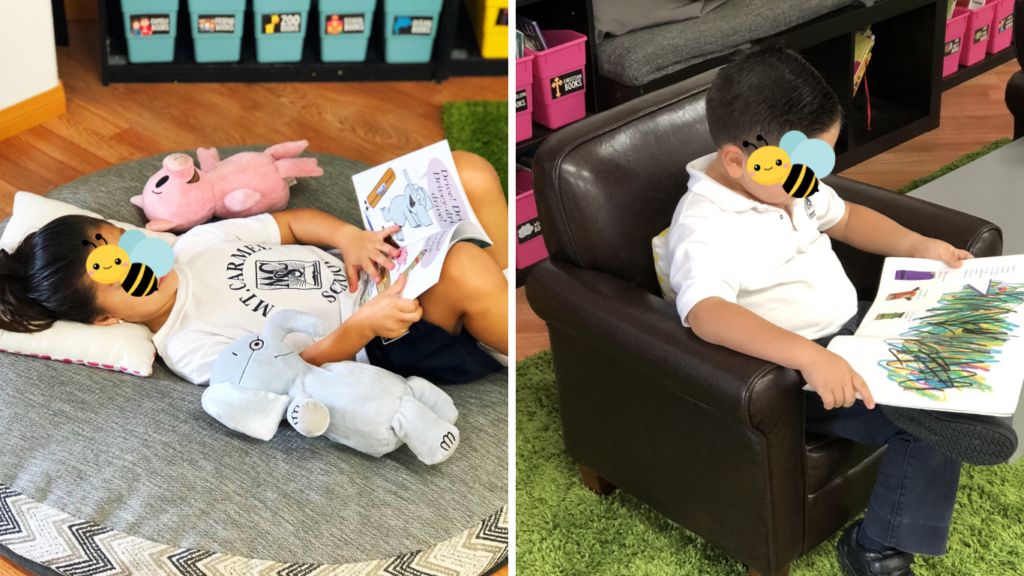
I also think it’s important that one of your centers is just chilling out in the library, reading your favorite book. Students need to develop a love of reading for its own sake, without the pressure of grades or tests.
I had the following centers:
- Guided Reading with me
- Raz-Kids on the iPad
- Boom Cards on the computer
- TAG readers
- 1 paper center
- Read to Self in the library
Each week, all I had to change out was one paper center, and select another Boom Card Deck for them to use. I met with each guided reading group once a week, and in my class, we only did one rotation, but you could obviously do more.
I hope this post gave you some new tools to help organize your guided reading time. Check out the resources below to help build your guided reading block!
-

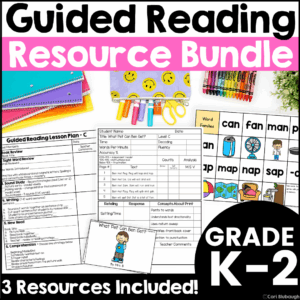
Guided Reading Activities, Lesson Plans, and Assemment
$14.99 -
Phonics Worksheets and Picture Sorts Bundle for Centers and Morning Work
Original price was: $26.25.$19.99Current price is: $19.99. -
Classroom Center Labels for Kindergarten
$2.50