Kindergarten is a crucial year in a child’s educational journey, laying the foundation for future learning. As a kindergarten teacher, you want to create engaging and interactive learning experiences that foster creativity and curiosity in your students. One fantastic tool to achieve this is the Interactive Notebook. In this blog post, we’ll discuss how to introduce Interactive Notebooks to your kindergarten students, including the materials you’ll need, notebook storage, and practice tips for students on how to place papers into their notebooks.
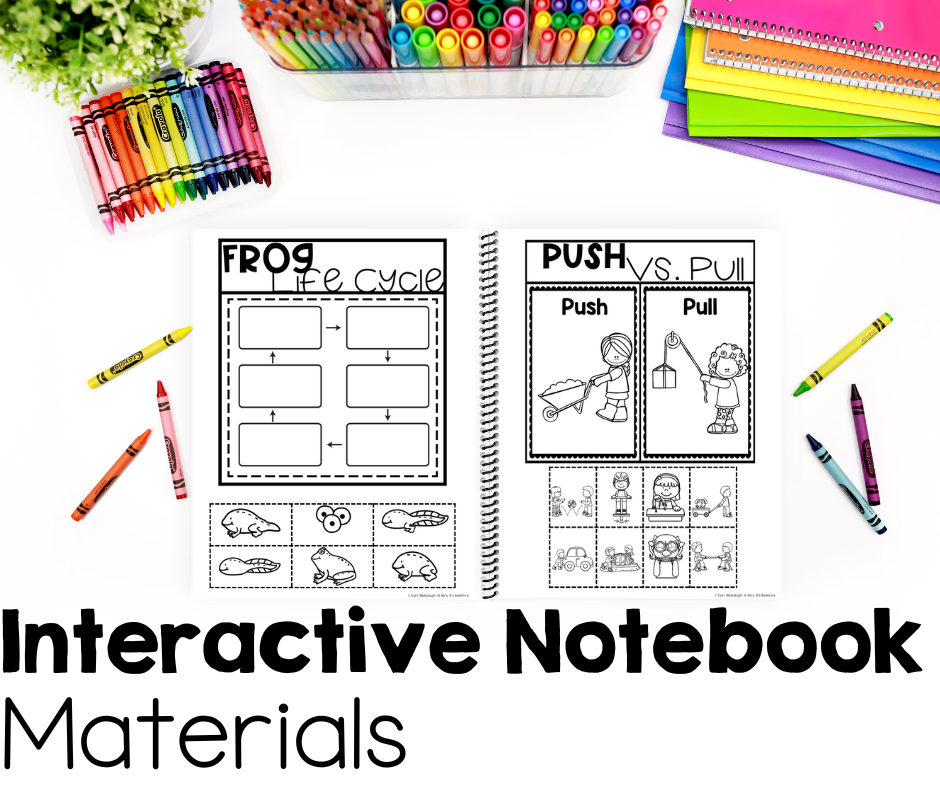
Interactive Notebook Materials You’ll Need
Before you start using Interactive Notebooks in your kindergarten classroom, you’ll need to gather some essential materials. Here’s a list of items to consider:
- Notebooks: You can use composition notebooks or spiral-bound notebooks, but it’s a good idea to choose ones with sturdy covers that can withstand the daily wear and tear of kindergarten. I’m not a huge fan of the spiral ones. If you are using more than one spiral notebook the spines can get twisted together. I usually just load up on composition books at Walmart during back-to-school season when they’re on sale. I get a different color notebook for each subject.
- Glue Sticks or Glue Tubs: I like having both of these options available for my students. The glue tubs often work better than the glue sticks for the smaller interactive notebook pieces.
- Scissors: Child-safe scissors are a must. Ensure they have blunt tips and are suitable for small hands.
- Colored Pencils and Crayons: I prefer to use these instead of markers for the notebooks so no color bleeds through the pages.
- Stickers and Smelly Markers: After a student shows me their work I usually add a smelly marker star to their page. As an extra incentive, I sometimes let the student who finishes first choose the scent I will use for the day. My students LOVE smelly stars. Stickers work great as well.
- Storage Containers: How you store your student notebooks is going to vary widely depending on the teacher. In my classroom, I used flexible seating, so I really liked the IKEA TROFAST storage bins to hold all of their curriculum materials including their interactive notebooks. I’ve also seen people store the notebooks in plastic crates or just in the student’s desk if you have that kind of set-up.
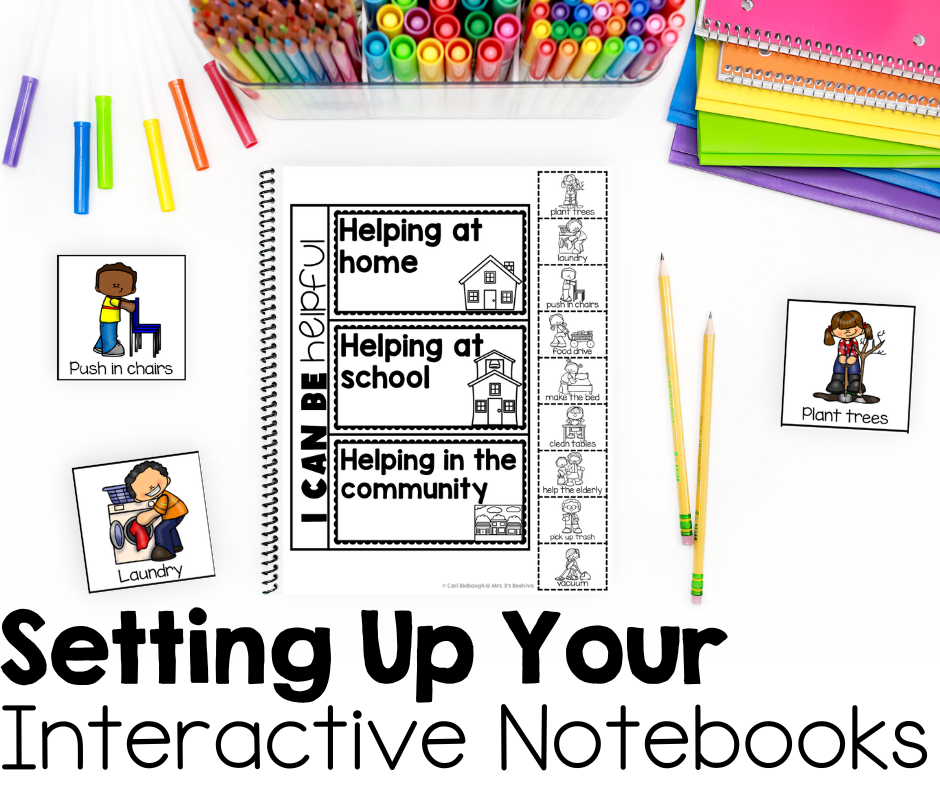
Interactive Notebook Set-Up
Setting up Interactive Notebooks ahead of time is crucial for making these notebooks stress-free for both you and your students. Here are some tips for effective setup:
- Designate a Notebook Station: Wherever you have your notebooks stored you need to have a clear system for working with them. For example, if you are using crate storage I would keep the crate myself and call each student one by one to get their book. I would then have them pick up the page they were going to be adding to their notebook in a different area.
- Label Everything: Label each student’s notebook and materials with their name. Avery name badge labels are what have worked best for me. I print a label with their name on it and the subject and attach it to the front of the notebook. I usually have no problem with these labels lasting all year.
- Consider a Place Keeper Ribbon: If your students are having a hard time finding the next available page you can hot glue a ribbon to the back of your student’s notebook. Make it long enough so that it stretches to become a bookmark. I haven’t had to use this as much with interactive notebooks but I have definitely used this with other curriculum books and it has worked really well!
- Student Responsibility: Teach your kindergarten students the importance of taking care of their materials and returning them to the designated storage area after each use. Also, teach them how to use the next available page in the notebook so they are not wasting pages and the leaning follows a chronological order.
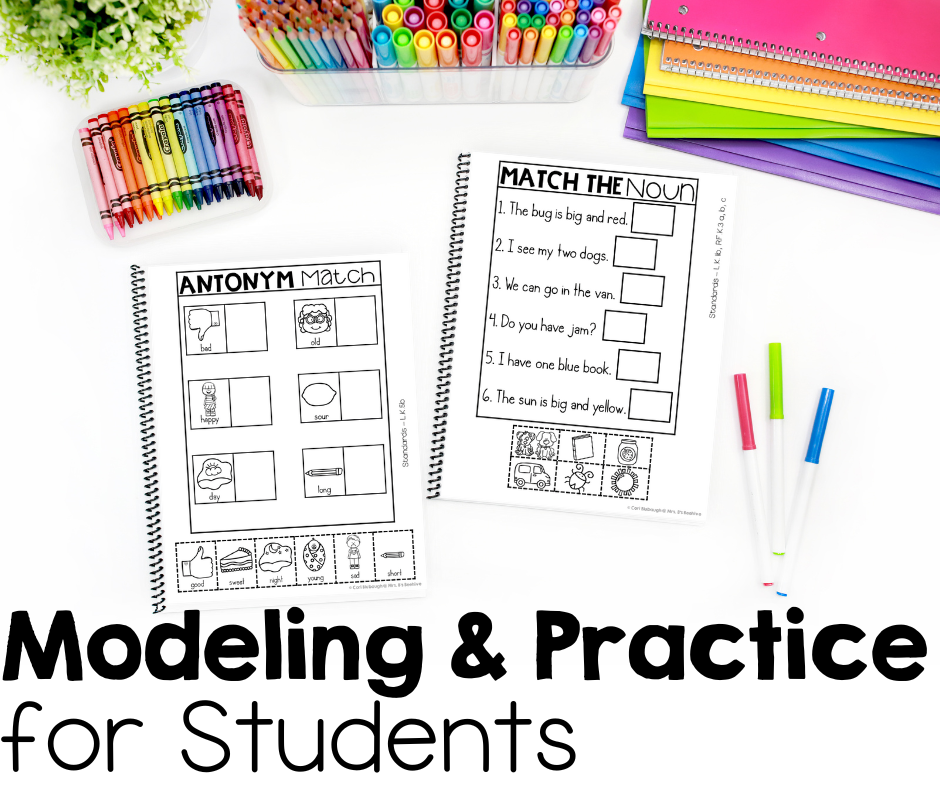
Practice for Students
Introducing Interactive Notebooks to kindergarten students requires patience and practice. Here’s how to help your students learn how to place papers into their notebooks:
- Model the Process: Start by demonstrating how to glue papers into the notebook. Show them how to apply glue to the back of the paper and then press it firmly into the notebook. Show them how to use glue tubs for smaller pieces.
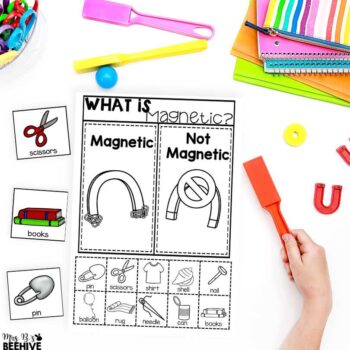
- Practice with Worksheets: Many interactive notebook worksheets have very specific cutting instructions, so practicing those as a whole class at the beginning of the year can be helpful.
- Use Visual Aids: Create step-by-step visual guides with pictures to help students remember the process. Place these guides on the wall near the notebook station.
- Offer Assistance: Be patient and offer assistance as needed. Encourage independence but be ready to step in if a student needs help, especially at the beginning of the year.
- Reinforce Positive Behavior: Praise students for their efforts and neat work. Offer rewards or stickers for well-organized notebooks.
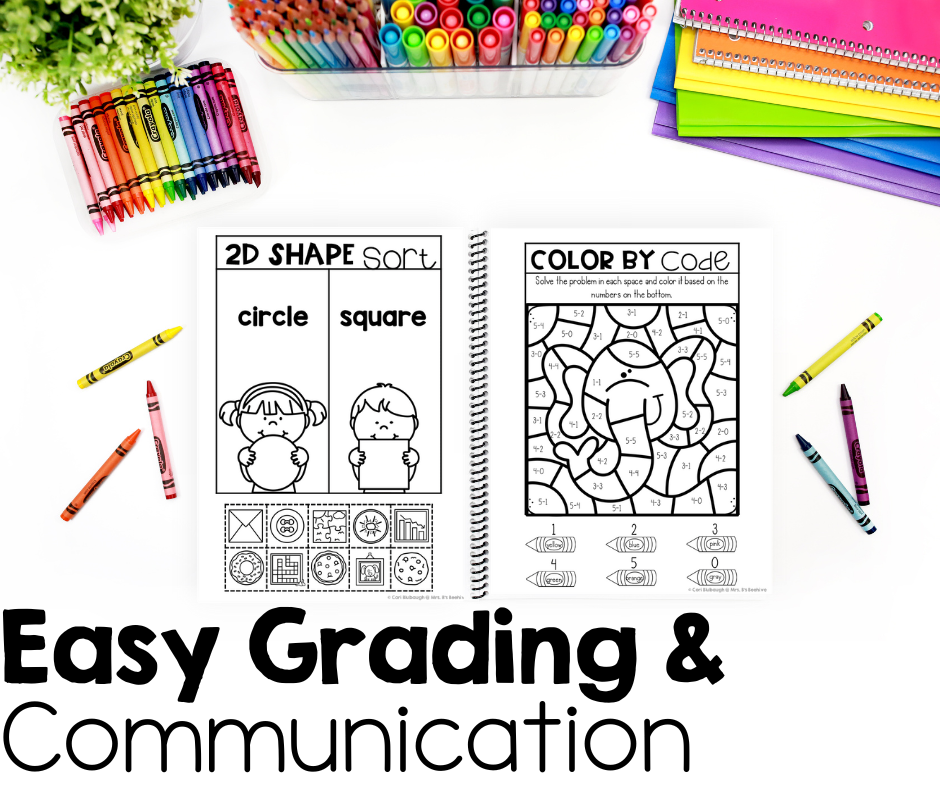
Quick and Easy Grading and Progress Communication
One of the things I like most about interactive notebooks is that I can easily grade them and quickly assess a student’s understanding.
At my school, we had an online grading system that tabulated everything for us. Whenever I gave the students an interactive notebook page to complete I would open a new assignment tab on my computer.
Students would come up to me when they were done and I would give them a smelly star on their page and quickly record their grades into the system. There was no future work for me to do, everything was done on the spot!
Another wonderful thing about the interactive notebooks is that I could easily pull them out during parent conferences to show student’s progress. Also, at the end of the year, I sent the notebooks home which was so easy and convenient and gave families a little memento of their child’s kindergarten learning!
If you’d like to get a look into how I structure my lessons with an interactive notebook check out my sink vs. float post and grab the freebie that comes with it!
Make Your Life Easier With Interactive Notebooks!
Interactive Notebooks can be a valuable tool in a kindergarten classroom, fostering creativity, organization, and a love for learning. By gathering the right materials, setting up an efficient storage system, and providing practice and guidance to your students, you can seamlessly integrate Interactive Notebooks into your daily lessons.
These notebooks will not only enhance the learning experience but also create lasting memories for your kindergarten students as they embark on their educational journey. Take a look at the interactive notebooks I have available in my TPT store:
- Science Notebook for Kindergarten
- Social Studies Notebook for Kindergarten
- Math Notebook for Kindergarten
- Language and Grammar Notebook for Kindergarten


I also have 2 discounted bundles available of my interactive notebooks: