There are so many fun activities to use when teaching force and motion in kindergarten! Today I wanted to share some simple activities that you can do with your students. These activities won’t cost a lot of money, but your students will be engaged and absorbing new material at a rapid pace!
Force and Motion Standards
Force and Motion standards encompass a lot of different concepts. Here are the standards that we are trying to cover with the activities in this post:
K-PS2-1 – Plan and conduct an investigation to compare the effects of different strengths or different directions of pushes and pulls on the motion of an object.
K-PS2-2 – Analyze data to determine if a design solution works as intended to change the speed or direction of an object with a push or a pull.
Force and Motion Concepts
With this particular lesson we are trying to cover the following concepts:
- Speed – what does it mean and how can we manipulate it?
- Force – what is it and how can we affect it?
- Friction – how does it work and how do different types of friction compare?
- Leverage – how can utilizing a simple machine change the outcome of the tests.
These concepts do not fully encompass everything having to do with force and motion. I would use this lesson after talking about push vs. pull and before I dove into changing the directionality of an object. Also, if you are wanting to cover simple machines in your classroom, these ramps (inclined planes) is a good jumping off point.
Setting the Stage
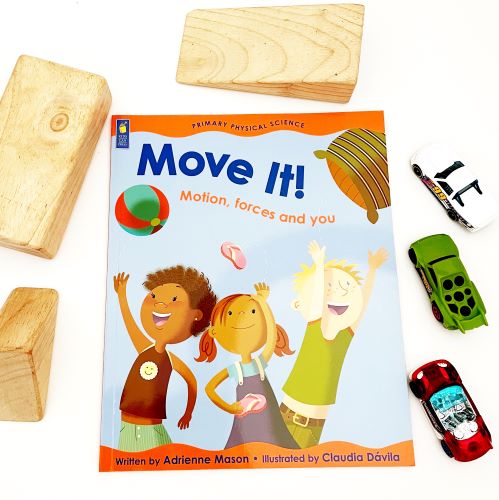
Move It! – Motion, Forces, and You is my favorite book to read before we do any force and motion study. I read it multiple times throughout the year, and my students always love it! You can find more great additions to your science library with my Kindergarten Science Book Recommendation page!
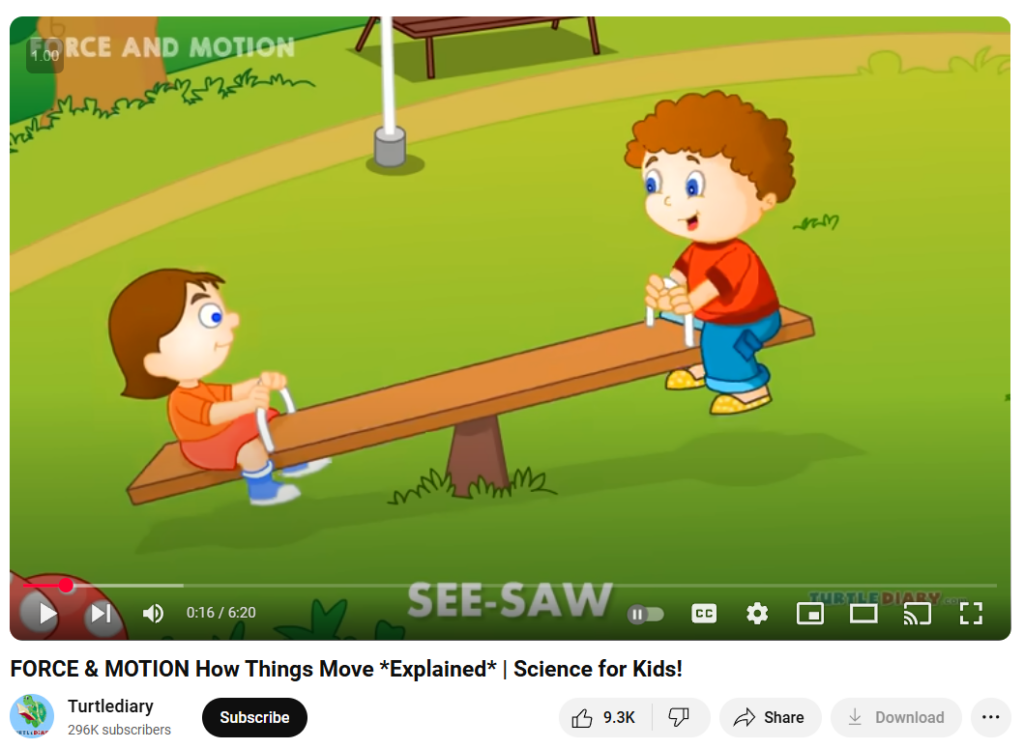
If you would like to start the lesson off with a little video overview, this one explains a lot of the topics that will be covered:
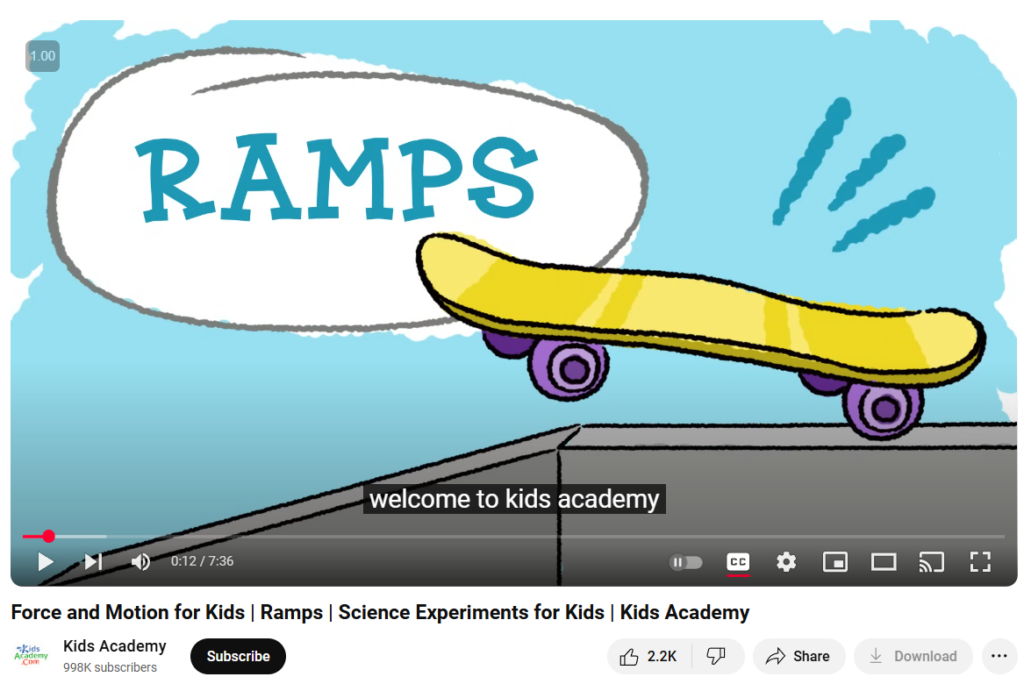
As we move further into the lesson and begin to talk about ramps, this is a fun video to show as well!
Supplies Needed
When I create lessons to share with others, I try to use materials you can easily grab from your house or the Dollar Tree! Here are the things you need to do for the following activities:
- Toy Cars – I got some cheap ones from Dollar Tree, but you can also ask for donations from parents, especially from older students. You’ll be surprised by how many you get!
- Tape measure
- Aluminum foil – inexpensive at Dollar Tree as well
- Wooden Blocks – Most kindergarten classes come with these. Mine, of course, did not, so I purchased this fairly inexpensive set from Melissa and Doug. Other building sets work as well, like magnetic tiles.
Force, Motion, and Speed
After the initial introduction, either through a book or a video, we begin our observations. You can use yardsticks or rulers lined up on the floor. I just brought in a tape measure and ran it along the floor of my classroom.
I had laminate flooring in my classroom, but if your entire classroom has rugs, then I would move this activity outside or to another location with smooth floors.
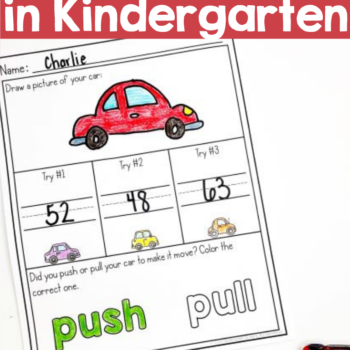
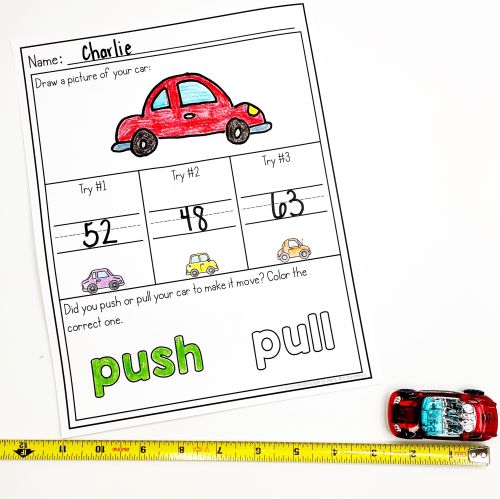
How you conduct the lesson will depend on your class size and the materials you have. I like to give everyone their own car. We draw a picture of our car and make some predictions about how far it will go.
We do a couple of trial runs together, talk about how to read the tape measure (whole numbers only), and how to record our test numbers.
My husband does a lot of woodworking, so we have TONS of tape measures around the house. You could ask students/parents/other teachers to let you borrow theirs for a couple of days as well if you want to break into small groups.
Ideally, I like the students to complete this in groups of 3-5 students, taking turns and recording their answers.
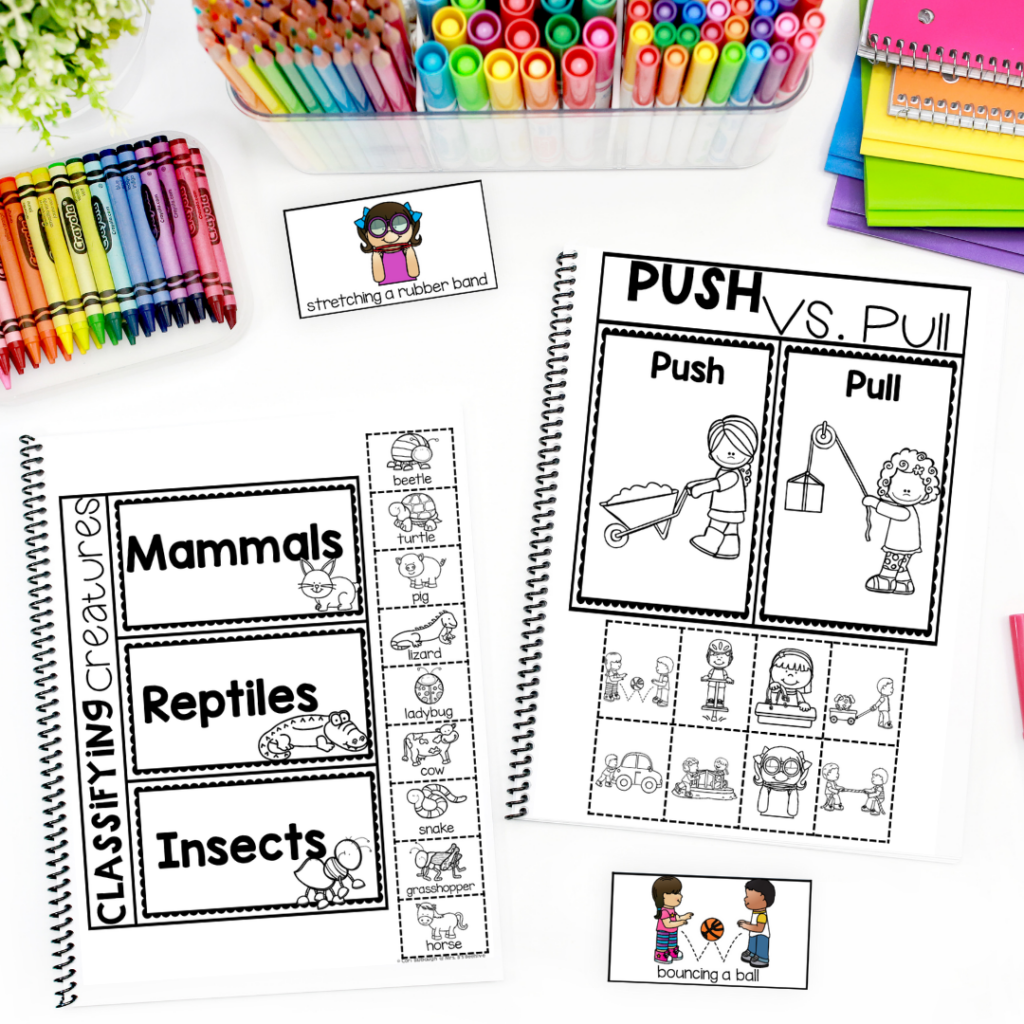
At this point, I would have already done a lesson on push vs. pull. So, at the end of the lesson, we do a little review of the concept.
Friction
The next component of the lesson (that I would probably do on another day) is friction. The book that I mentioned above does a great job explaining what friction is. I read those pages again to the students before this next part.
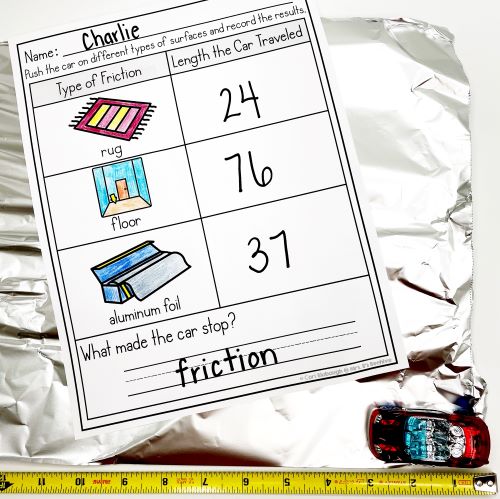
During this lesson, we try rolling the cars on different surfaces to see the result. As I said, I try to make my/your life easier and just use things that are readily available in my classroom/house, so that’s why I chose aluminum foil as a third option.
I’m also including a sheet where you can try out different materials, and you can just have the students draw a picture of the type of friction you used. Here are some other ideas for friction surfaces:
- Glue dots on some construction paper
- Velcro
- Saran Wrap
- Rubber
- Cork
- Cardboard
- Dirt
Lakeshore also has some cool friction ramps you can use if you have some money in your budget, which would be great for center exploration!
Leverage and Simple Machines
After speed, motion, and friction, we start talking about how we can manipulate the results.
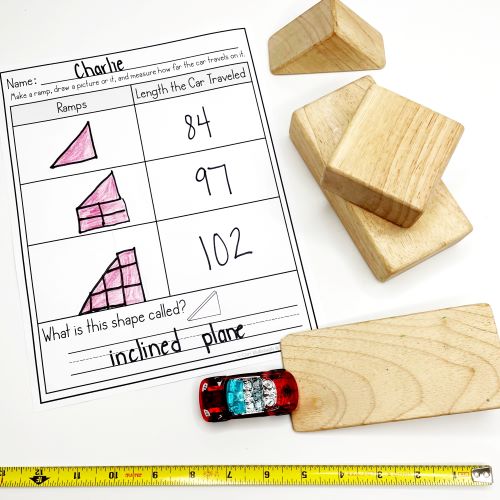
Simple machines (or at least the vocabulary for them) are not necessarily a kindergarten standard, but they will be seeing them in their science lessons soon enough.
This lesson provides a basic introduction to one simple machine (the inclined plane). I like to read the inclined plane section from this Simple Machines book to the students before the lesson starts.
We measure how far the cars can go without the ramp, then add a simple ramp. We talk about improvements we can make to the ramp to make the car go even faster.
This activity works great in small groups or at a science center!
Grab these free force and motion worksheets by filling out the information below:
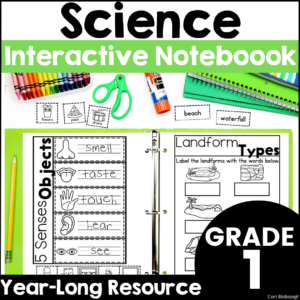
If you are in need of some additional science resources, you might want to check out my Kindergarten Science Notebook or the 1st Grade Science Notebook. In them, you will find additional resources for force and motion, like push vs. pull, magnets, and simple machines.
You can also find additional science resources on various topics throughout my website!
-

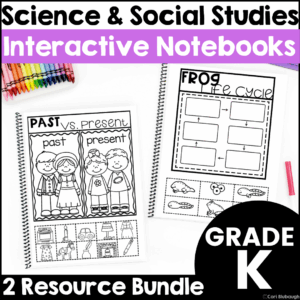
Kindergarten Science Interactive Notebook
$14.95 -
Science and Social Studies Interactive Notebook Bundle for Kindergarten
Original price was: $29.90.$26.67Current price is: $26.67. -
1st Grade Science Interactive Notebook
$14.95